

Blog
How to Make a Wooden Guitar for a School Project

By Mohsin Zaheer, Made In Pak. Last updated 4 November 2026.
Quick answer: to make a wooden guitar for a school project, choose plywood or a tonewood such as spruce or mahogany, draw and cut out the body and neck, hollow and glue the body, attach the neck and fretboard, sand, stain and varnish the wood, then fit the bridge and strings and tune it.
How to make a wooden guitar in 8 steps
- Gather materials and tools: wood, saw, drill, sandpaper, clamps, glue, strings, tuning pegs and a bridge.
- Design and plan the body, neck and fretboard, then trace them onto the wood.
- Cut out the guitar body and shape the neck.
- Hollow and assemble the body, gluing and clamping it overnight.
- Attach the neck and cut the sound hole.
- Add the fretboard and frets, then sand, stain and varnish.
- Fit the bridge and strings, then tune the guitar.
- Test and play, listening for buzzing or notes that sound dull.
Building a simple guitar teaches woodworking, measuring and patience, and the finished instrument can really be played. This guide takes you through every stage and explains which materials and tools you need.
Safety first: ask an adult to supervise when you use a bandsaw, Dremel or chisel, and wear eye protection and a dust mask when cutting and sanding.
The Unique Appeal of Wooden Guitars
Wooden guitars, crafted from solid and durable materials, embody the rich traditions of Pakistani craftsmanship. Their strength ensures longevity, making them reliable instruments. Building a guitar nurtures hands-on skills and creativity, and fosters self-expression and musical engagement. This project connects students to their heritage while promoting teamwork, patience, and appreciation for the artistry behind each unique piece.
Building a solid wooden guitar is a rewarding project that requires a range of high-quality materials and tools to create a beautiful, durable instrument. Here’s a detailed list to help you begin your creative journey.
How to Make a Wooden Guitar for a School Project
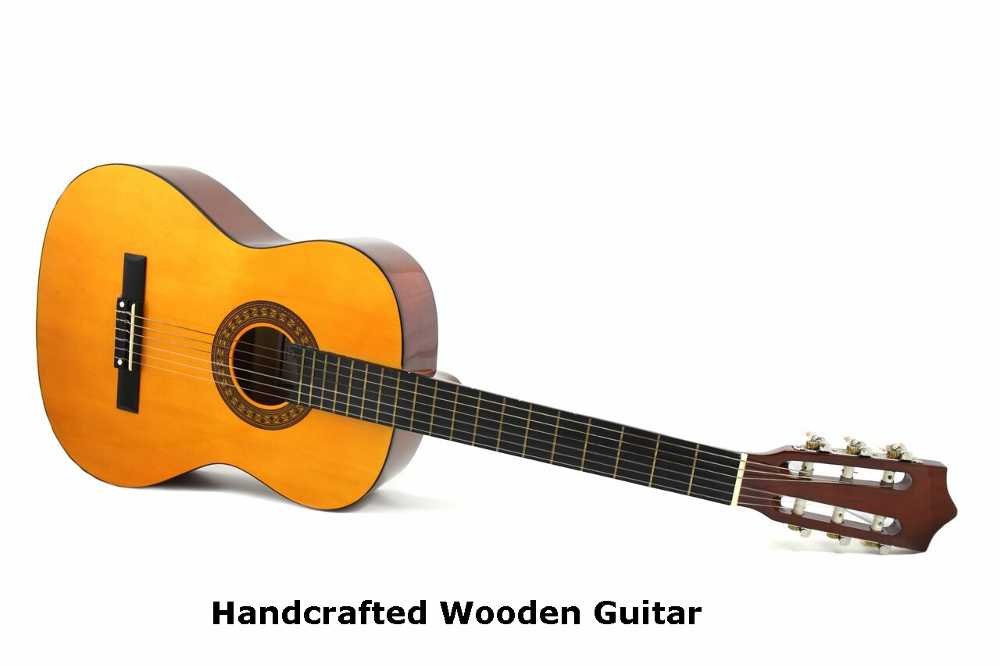
Before diving into the tools and techniques, assessing your skill level, budget, and workspace is important. If you’re new to woodworking, don’t be discouraged, approach the project at your own pace, and remember that practice makes perfect. Even hobbyists can succeed with dedication and attention to detail. While budget tools may be less refined, they can still yield great results. Focus on enjoying the process, confidence will grow as you learn!
Crafting Your Wooden Guitar: A Step-by-Step Guide
This step-by-step guide will equip you with the tools, materials, and techniques to build a beautiful and functional instrument.
Step 1: Materials Needed for Building a Wooden Guitar
| Category | Details |
|---|---|
| A. Types of Wood | |
| Spruce | Lightweight and produces a bright, clear tone, often used for the top of acoustic guitars. |
| Mahogany | Known for its warm sound and attractive grain, frequently used for the body and neck. |
| Plywood | A more economical choice for the body, especially in beginner projects. Sturdy and easier to work with. |
| B. Tools Required | |
| Saw | Bandsaw or hand saw for cutting the wood to shape. |
| Drill | For creating holes, such as the sound hole and for tuning pegs. |
| Sandpaper | Used to smooth the edges and surfaces of the wood. |
| Glue | Strong wood glue to bond pieces together. |
| Dremel | Optional but helpful for detailed sanding and shaping. |
| C. Additional Materials | |
| Strings | Choose strings that are compatible with your guitar type (acoustic or electric). |
| Fretboard Material | Hardwood can be used for durability and aesthetics. |
| Bridge | Essential for string support and sound projection, can be made from wood. |
| Tuning Pegs | Necessary for adjusting the pitch of each string. |
Step 2: Design and Planning
Selecting the Guitar Type
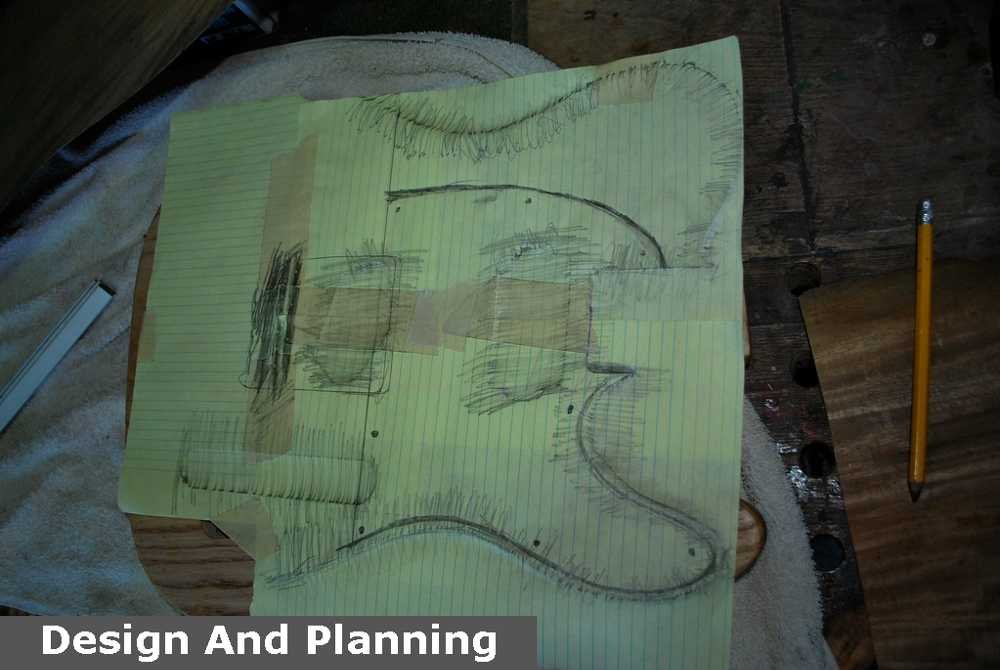
Begin by deciding what type of guitar you want to build. I chose a design with a partially cut-out bottom side, which gives it a distinctive look. This choice makes the project a bit more challenging but also more rewarding.
To transfer my design to the wood, I printed out a picture, cut around it, and traced the outline onto my wood. This ensures I have a clear preference for cutting.
It’s important to measure and mark the dimensions for the body, neck, and fretboard accurately to maintain proportions and symmetry.
Step 3: Building the Guitar
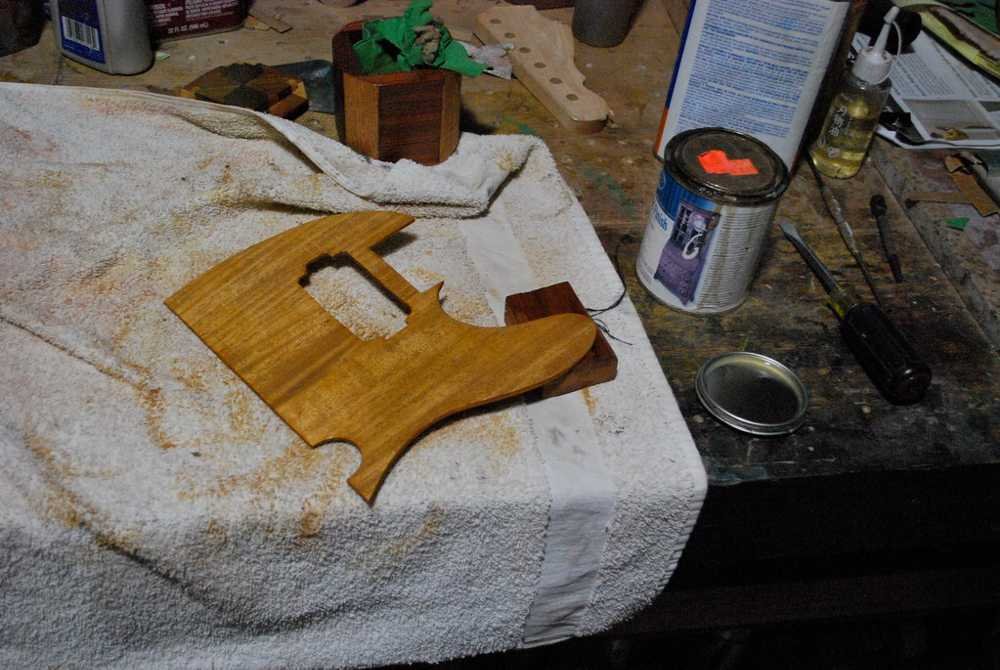
Afterward, move on to shaping the neck based on your template. You’ll need to sand it further to achieve the desired contour and smoothness.
Start by carefully cutting out the guitar body shape using a bandsaw, following the design you’ve traced onto the wood. Take your time with this step; if the blade isn’t particularly thin, it’s best to make several passes instead of attempting to cut everything in one go.
Step 4: Assembling the Body
After cutting out the guitar body, it’s time to hollow out the center of one blank using the bandsaw, leaving about 1 cm around the edges. Once done, refine the edges with a Dremel for a smooth finish.
After hollowing, apply glue to the edges and press them back together, using clamps or a suitable tool to hold them in place overnight while they dry.
Step 5: Attaching the Neck
Once the body is ready, take the second blank and cut it in half lengthwise, then sand it down to about 2 to 3 mm thick to form the sides of the guitar.
Select one of the sides to drill a hole for the sound hole. Use a template to ensure accuracy and smooth the edges with a Dremel.
Step 6: Adding the Fretboard
Prepare the fretboard by cutting it to size and sanding it to about 1 mm thick. Mark where the frets will go with a pencil.
Use a chisel to create slight cuts for the frets, then widen these slots with a fine saw. Insert staples into the slots and seal them with super glue for added durability.
After assembling the body and neck, it’s important to sand all surfaces to create a smooth finish. This step ensures that the edges and surfaces are free of rough spots. Using a linisher can be particularly effective for achieving a professional look.
Once sanding is complete, apply a dark stain to the back and sides of the guitar, allowing it to dry overnight. This will enhance the wood’s natural beauty. After the stain has been set, varnish the front of the guitar to provide a glossy, polished appearance.
Next, focus on installing the hardware. For the bridge, cut a thin piece of wood into the desired shape. Carefully mark and drill holes for the nails, then secure them in place with glue. To finish, apply a coat of black Sharpie to give the bridge a clean and aesthetically pleasing look.
Step 7: Stringing and Tuning the Guitar
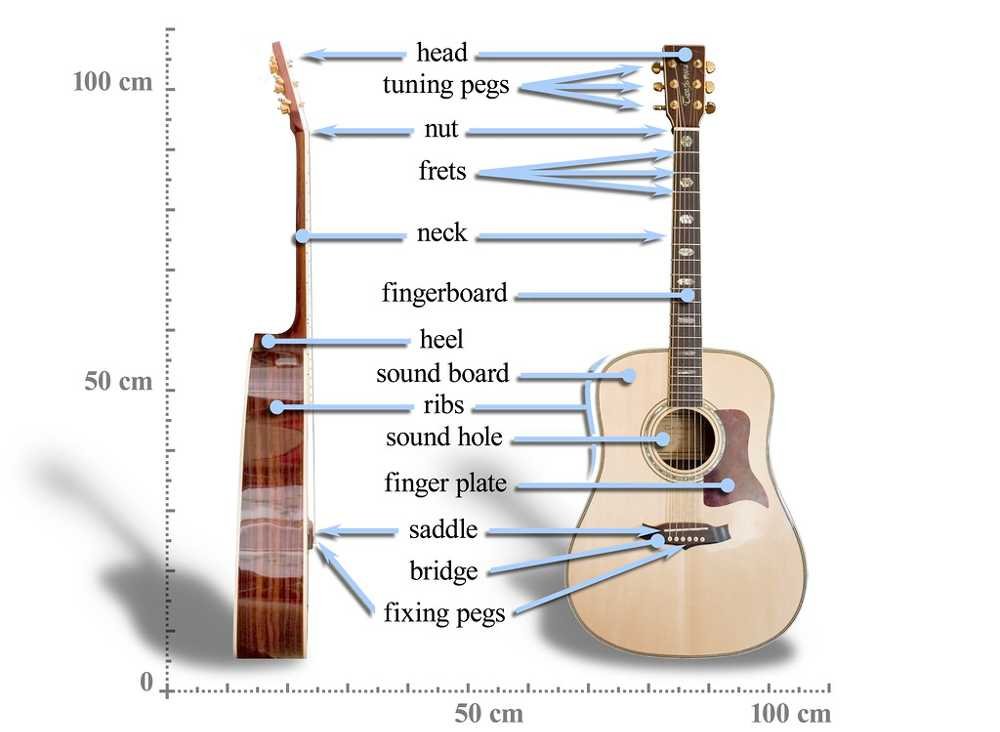
when it comes to stringing your guitar, the first step is to choose the right strings. Make sure to select strings that are compatible with the type of guitar you’ve built, paying close attention to the scale length for accurate tuning.
Once your guitar is fully assembled, proceed to attach the strings. Ensure they are tight and securely fastened; using a small amount of super glue can help keep them in place.
After the strings are attached, it’s time to tune your guitar. Carefully check each string to confirm it is tuned to the correct pitch, making adjustments as needed for a harmonious sound.
Step 8: Testing and Playing
Once tuned, strum the guitar gently to assess the sound quality. Listen for any buzzing or notes that don’t resonate well.
Familiarize yourself with basic chords and strumming patterns to start playing. Practice makes perfect, so take your time and enjoy the process!
Conclusion
Congratulations! You’ve successfully built your wooden guitar. This project not only sharpens your woodworking skills but also introduces you to the exciting world of crafting musical instruments. Now you can enjoy playing and showcasing your unique creation. Have fun making music and sharing your accomplishments with others!
Wooden crafts from Made In Pak
If you enjoy working with wood, see how Pakistani artisans turn it into finished pieces. Browse our wooden products and wood craft collections, or read about the traditions behind them in our guide to Pakistani handicrafts.
Frequently asked questions
What wood is best for a school project guitar?
Plywood is the cheapest and easiest to work with, so it suits beginners. Spruce for the top and mahogany for the back, sides and neck give a better tone but cost more and are harder to cut.
How long does it take to make a wooden guitar?
Plan for several days to a few weeks. Glue and varnish need time to dry, often overnight, so the project cannot be rushed.
Can I make a guitar without special tools?
A basic guitar can be made with a hand saw, drill, sandpaper and clamps, although a bandsaw makes cutting easier. Always work with adult supervision.
How do I tune a homemade guitar?
Use a tuner or a tuning app. Standard tuning from the thickest string to the thinnest is E, A, D, G, B, E.
Do I need frets on a school project guitar?
Frets help the guitar play in tune, but a simple fretless design can still be a good model. Add frets if you want to play chords and melodies.